What do Instagram Stories, Facebook Stories, Snapchat Stories, and Twitter Fleet have in common? They are all so-called implementations of the same idea in social media platforms. A web story is a chain of images, video, text, or other types of content that are related to each other and tell a story. Visible storytelling is huge and now there are open sources of storytelling formats on the internet. Google Web Stories, launched as AMP Stories in 2018, is now available in WordPress.
Web Stories WordPress is a web version of the popular story format. Creators publish their own content and the results appear in search results. Creators can create google amp stories by mixing colors, words, and more. The Google Web Stories give you a lot more control over what you publish and how. You can decide in what format you want your story to be “alive”, where and for how long you want it to be published. Although web stories are designed for mobile devices, each story also automatically comes with a simple desktop viewer. This means that mobile content is truly accessible to everyone.
How to build Google Web Stories in WordPress CMS?
Getting started with a web story is easy if you have a WordPress site. Install the official Google Web Stories plugin, read Google guideline Docs, and prepare your web Stories for search engines. The WordPress Web Stories plugin was developed openly by the Google development team and is a work of art. Now officially released, everyone can get a structured story. After installing the plugin, go to the editor settings and enter the required data. Then you are ready to go! If you’re looking for inspiration or an idea of what a web story might look like, check out the Templates section. See your favorite one? Click on Use Template to open an editor with the template. Now you can use a variety of tools to tailor your story to your liking.
Of course, you’re free to build Google Web Stories from scratch according to your own requirements.
Let’s see how that goes.
Step1: Installing Web Story Plugin for WordPress
You can install the WordPress Google Web Stories plugin directly from the WordPress admin panel or manually download it from the WordPress.org plugin repository.
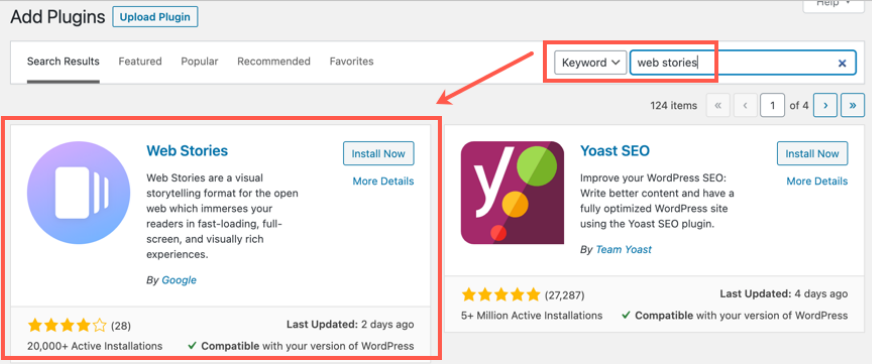
Follow these steps to install web stories for your WordPress plugin.
- In the WordPress admin panel, go to Plugins → Add New.
- Look for “Web Stories”. The web story plugin should appear in the search results.
- Install and activate the “Web Story” plugin.
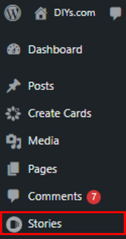
- Click on the new “Stories” from the admin menu item to navigate to the Web Stories Dashboard.
Step2: Setup Google Web Stories
When Web Story WordPress plugin Installation is done you can see the stories option in the Website Dashboard. Select Stories from the WordPress website admin sidebar to navigate to the Google Web Stories dashboard.
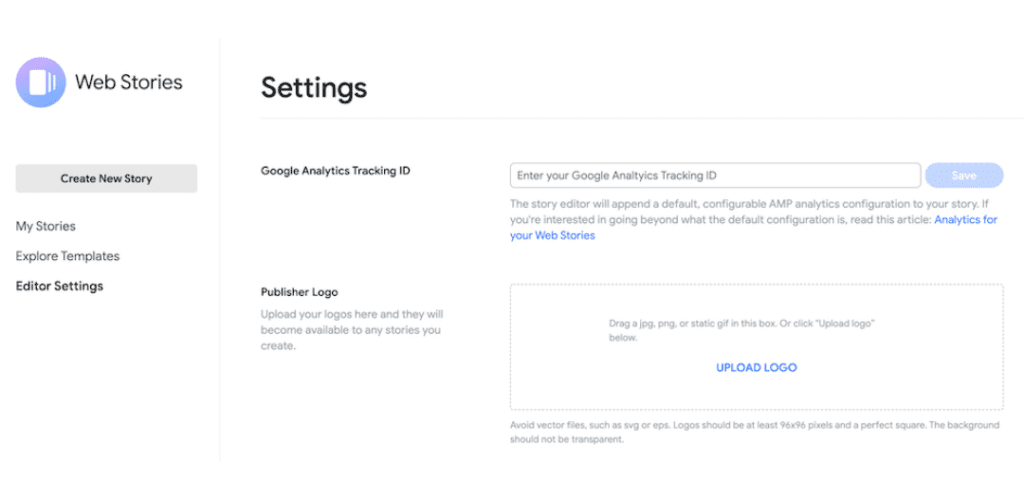
Go to Stories> Editor Setting. Now you can add a Google Analytics tracking Id and upload it to be a Brand Logo available for any WordPress web stories you create.
Step3: Create your first Google Web Story in WordPress

By clicking on the “Create New Story” button you can start to create your first WordPress Web Story and use one of the templates from dozens of available templates for your first google story and many more. The WordPress google web stories plugin editor has main three-story making panels. Element panel, Workspace panel, Design panel.
Step4: Add different Background Colors
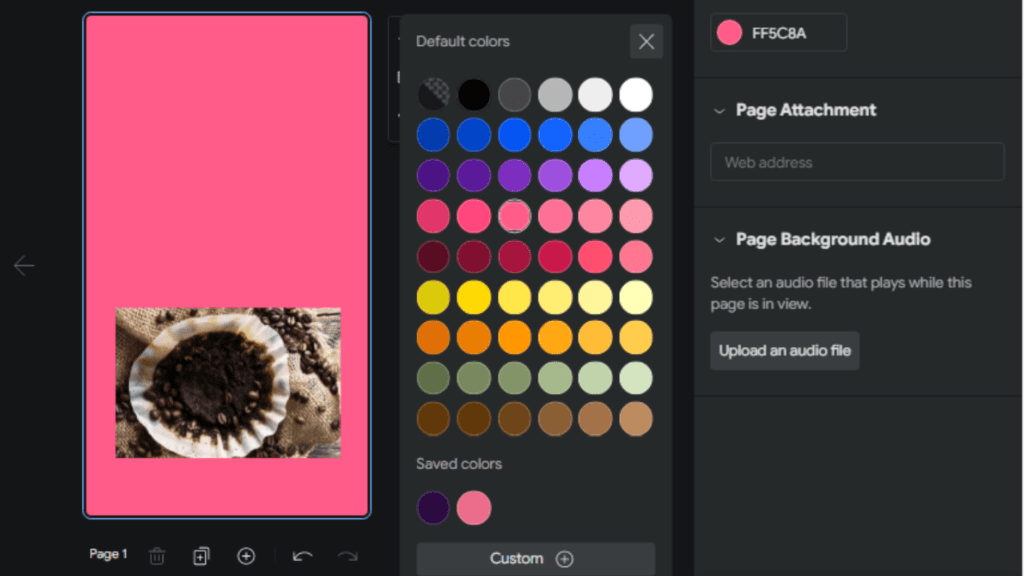
When you are creating web stories from scratch, you will have an empty white screen on the WordPress web story workspace panel to start with. If you want to give it a background color to the blank screen. Pick a color from different colors on the left google webstory design panel under Page.
Step5: Add images, video, GIFs, and animations
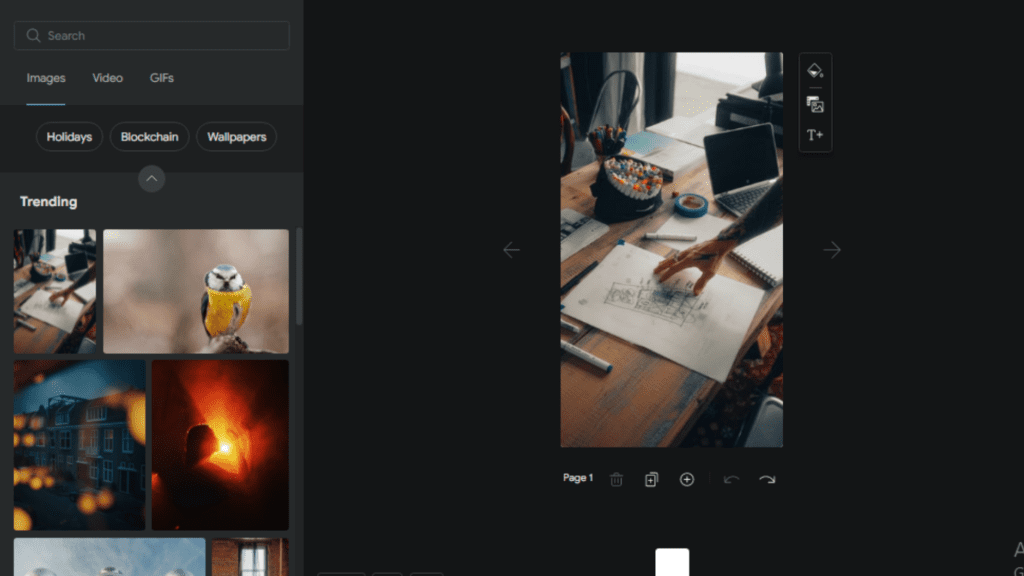
You can upload animations, GIFs, videos, and images and use them on the WordPress web story page or use the available ones from the stories library. for uploading images, videos, or animations go on the element panel and click on the upload option on the left side. You can also customize the visuals according to your google webstory requirements.
Step6: Add Text in Web Story
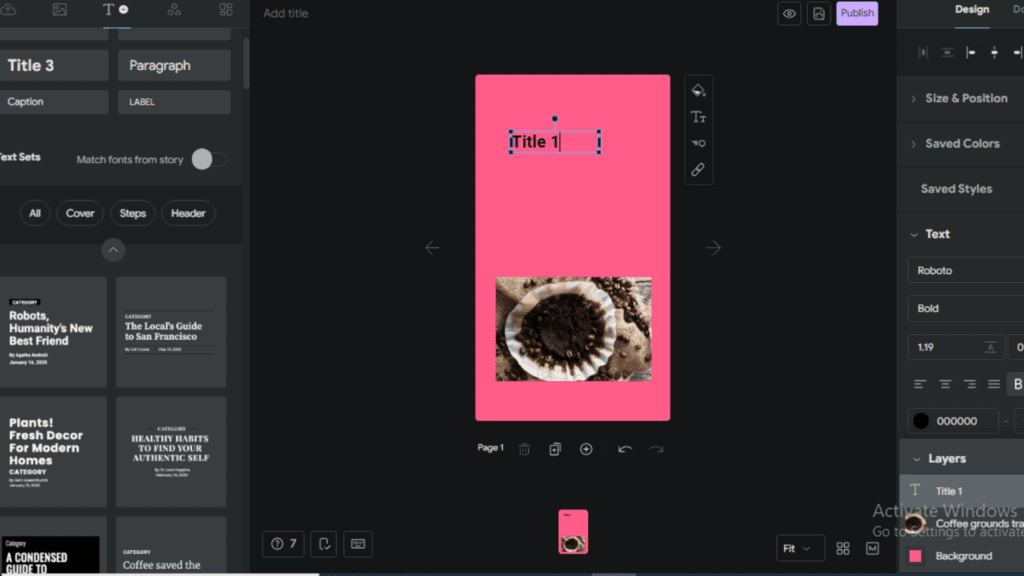
You can add text to WordPress web story pages. On top of the right side click on the text icon, Under Style on your left, you can choose different font styles for amp web stories easily.
Step7: Add shapes on the story page
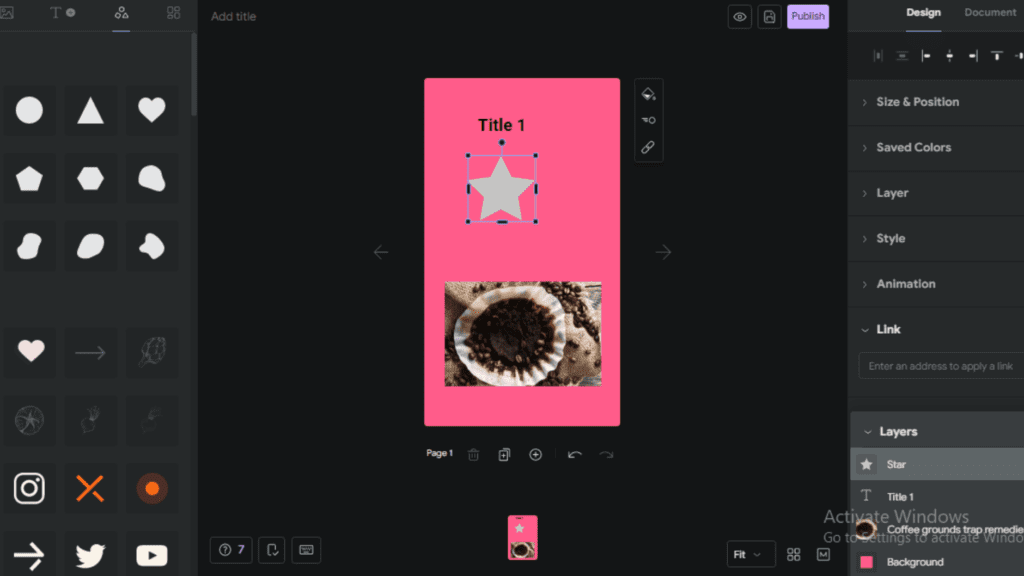
Click on the left side of the WordPress web story plugin the Shapes icon. You will see many shapes for you to choose from. Pick shapes and customize them according to your web story design.
Keep in mind
Of course, you can create web stories. The Web Stories are a great addition to your content arsenal. It’s a completely different tool for a completely different purpose.
Here are some key points you need must keep in mind:
- Make sure that the URLs of your google web stories are available in your sitemap
- WordPress web stories are ideal for video, images, or text, but keep them short
- In WordPress google web stories building time add must alt text to describe images for accessibility
- In the making of web stories, WordPress keeps the title short
- Make sure that your amp stories WordPress are valuable and of high quality
- Link to your WordPress Google web stories to other related parts of your website
- Don’t use too much text on WordPress web stories pages


